My Daylight Alarm Clock
Daylight is my favorite way to wake up in the morning. Unfortunately, the Sun and I are on different schedules most of the time. Here’s how I got around that.
I asked friends how they wake up. Everyone had the same answer: they set an alarm on their phone. Sometimes one, sometimes five alarms back-to-back. I did too until I stopped because of two main drawbacks. First, iPhone alarms are jarring. Apple’s alarm library is a carefully-curated collection of the world’s most irritating sounds. Second, if your alarm is on your phone, the first thing you’ll do after silencing it is check your notifications. You’ve started your day agitated and online.
My first attempt at a solution was buying a physical alarm clock with a built-in radio. I set it to play 1010 Wins at 7 AM on weekday mornings. This addressed both problems pretty well: the volume increases over five seconds, and I don’t even feel the need to silence it – the NYC traffic report is great background noise and turns itself off after 30 minutes.
I thought I could still do better. The DIYPerks YouTube channel has a series where the host makes artificial windows out of laptop screens and old TVs. You can think of these LCDs as a three-layer sandwich: a light source, a display surface, and filters between them to properly adjust light as it passes through the screen and out to your eyes.
An important effect of the middle layer is making the light source feel much farther away than it is. By themselves the filters create very convincing sunlight when lit from behind by an LED strip with a color temperature like the Sun’s (5600-5800K). You can build an artificial window by extracting LCD filters, adding your own light source, and packaging it up into a frame. I decided I’d up the ante by controlling when and how brightly this light shines.
I knew I could do this with Arduino. Microcontrollers can poll a clock to check the time and control the brightness of LEDs. But first I’d need those filters.
Luckily, last week my neighbors threw out a hefty 32” Sony TV. I wrestled it off the sidewalk and onto my patio. 20 minutes and 200 screws later it was disassembled.
 TV guts
 From top to bottom: the collimation sheet, two diffusion sheets, and the acrylic pane
It was now time to build a circuit. In the diagram below, PW1 is a 5V regulator by Pololu, CK1 is a precision clock by Adafruit, and EB1 is Arduino’s Nano Every controller. Q1 is an N-Channel MOSFET that dictates how brightly our LED strip shines through the filters I salvaged.
The resistance of R2 and R3 could be overkill. The LED strip didn’t come with a datasheet so I took a SWAG. Like any good alarm clock, it has a button S1 for you to turn off the alarm when you get out of bed.
Arduino controllers can talk to the Arduino Studio IDE, which can compile and load scripts onto the controller. Be sure, when you first set up the IDE, to choose the best matching option for your board and its processor. If you run Linux, you’ll also want to update permissions so that the two communicate properly.
The IDE’s Arduino programming language is a subset of C++. Neither it nor Arduino Studio is considered sufficient for most embedded systems work, but the simplified environment is perfect for this project. After testing the components individually I wrote a short script to program sunrise.
When I connect the window to power, Arduino continually polls the clock to check the time. When the time is right, the controller slowly raises the LEDs’ brightness and then maintains it until either a certain amount of time has passed or the stop button is pressed.
void loop() {
  DateTime present = rtc.now();
  // second() is necessary in case interrupt is
  // triggered within the minute
  if ((unsigned int)present.hour() == h && (unsigned int)present.minute() == m
                                        && present.second() == 0) {
    if (present.dayOfTheWeek() % 6) // not zero (Sunday) nor 6 (Saturday)
    {
      int i=0;
      while (i<255 && active) {
        analogWrite(led_pin, i++);
        delay(increment);
      }
      while (i>0) {
        analogWrite(led_pin, --i);
        delay(10); // fade out between two and three seconds (if uninterrupted)
      }
      active = true;
    }
  }
}
This function tells the controller what PWM signal to send to the MOSFET and when to send it. increment = (int)(fade_in_time * 60000 / 256) where fade_in_time is the duration of sunrise in minutes, 6000 is the number of milliseconds in a minute, and 256 is the number of levels to climb. The window is currently set to reach full brightness Monday through Friday at 7:30 AM after a 5-minute sunrise.
The last thing I needed was a frame. When I asked my dad for advice, he invited me over to look through a stack of windows he had on the property. I found one with 1.5” of unobstructed depth between its glass and the very back of its frame – perfect for mounting an LED strip sideways.
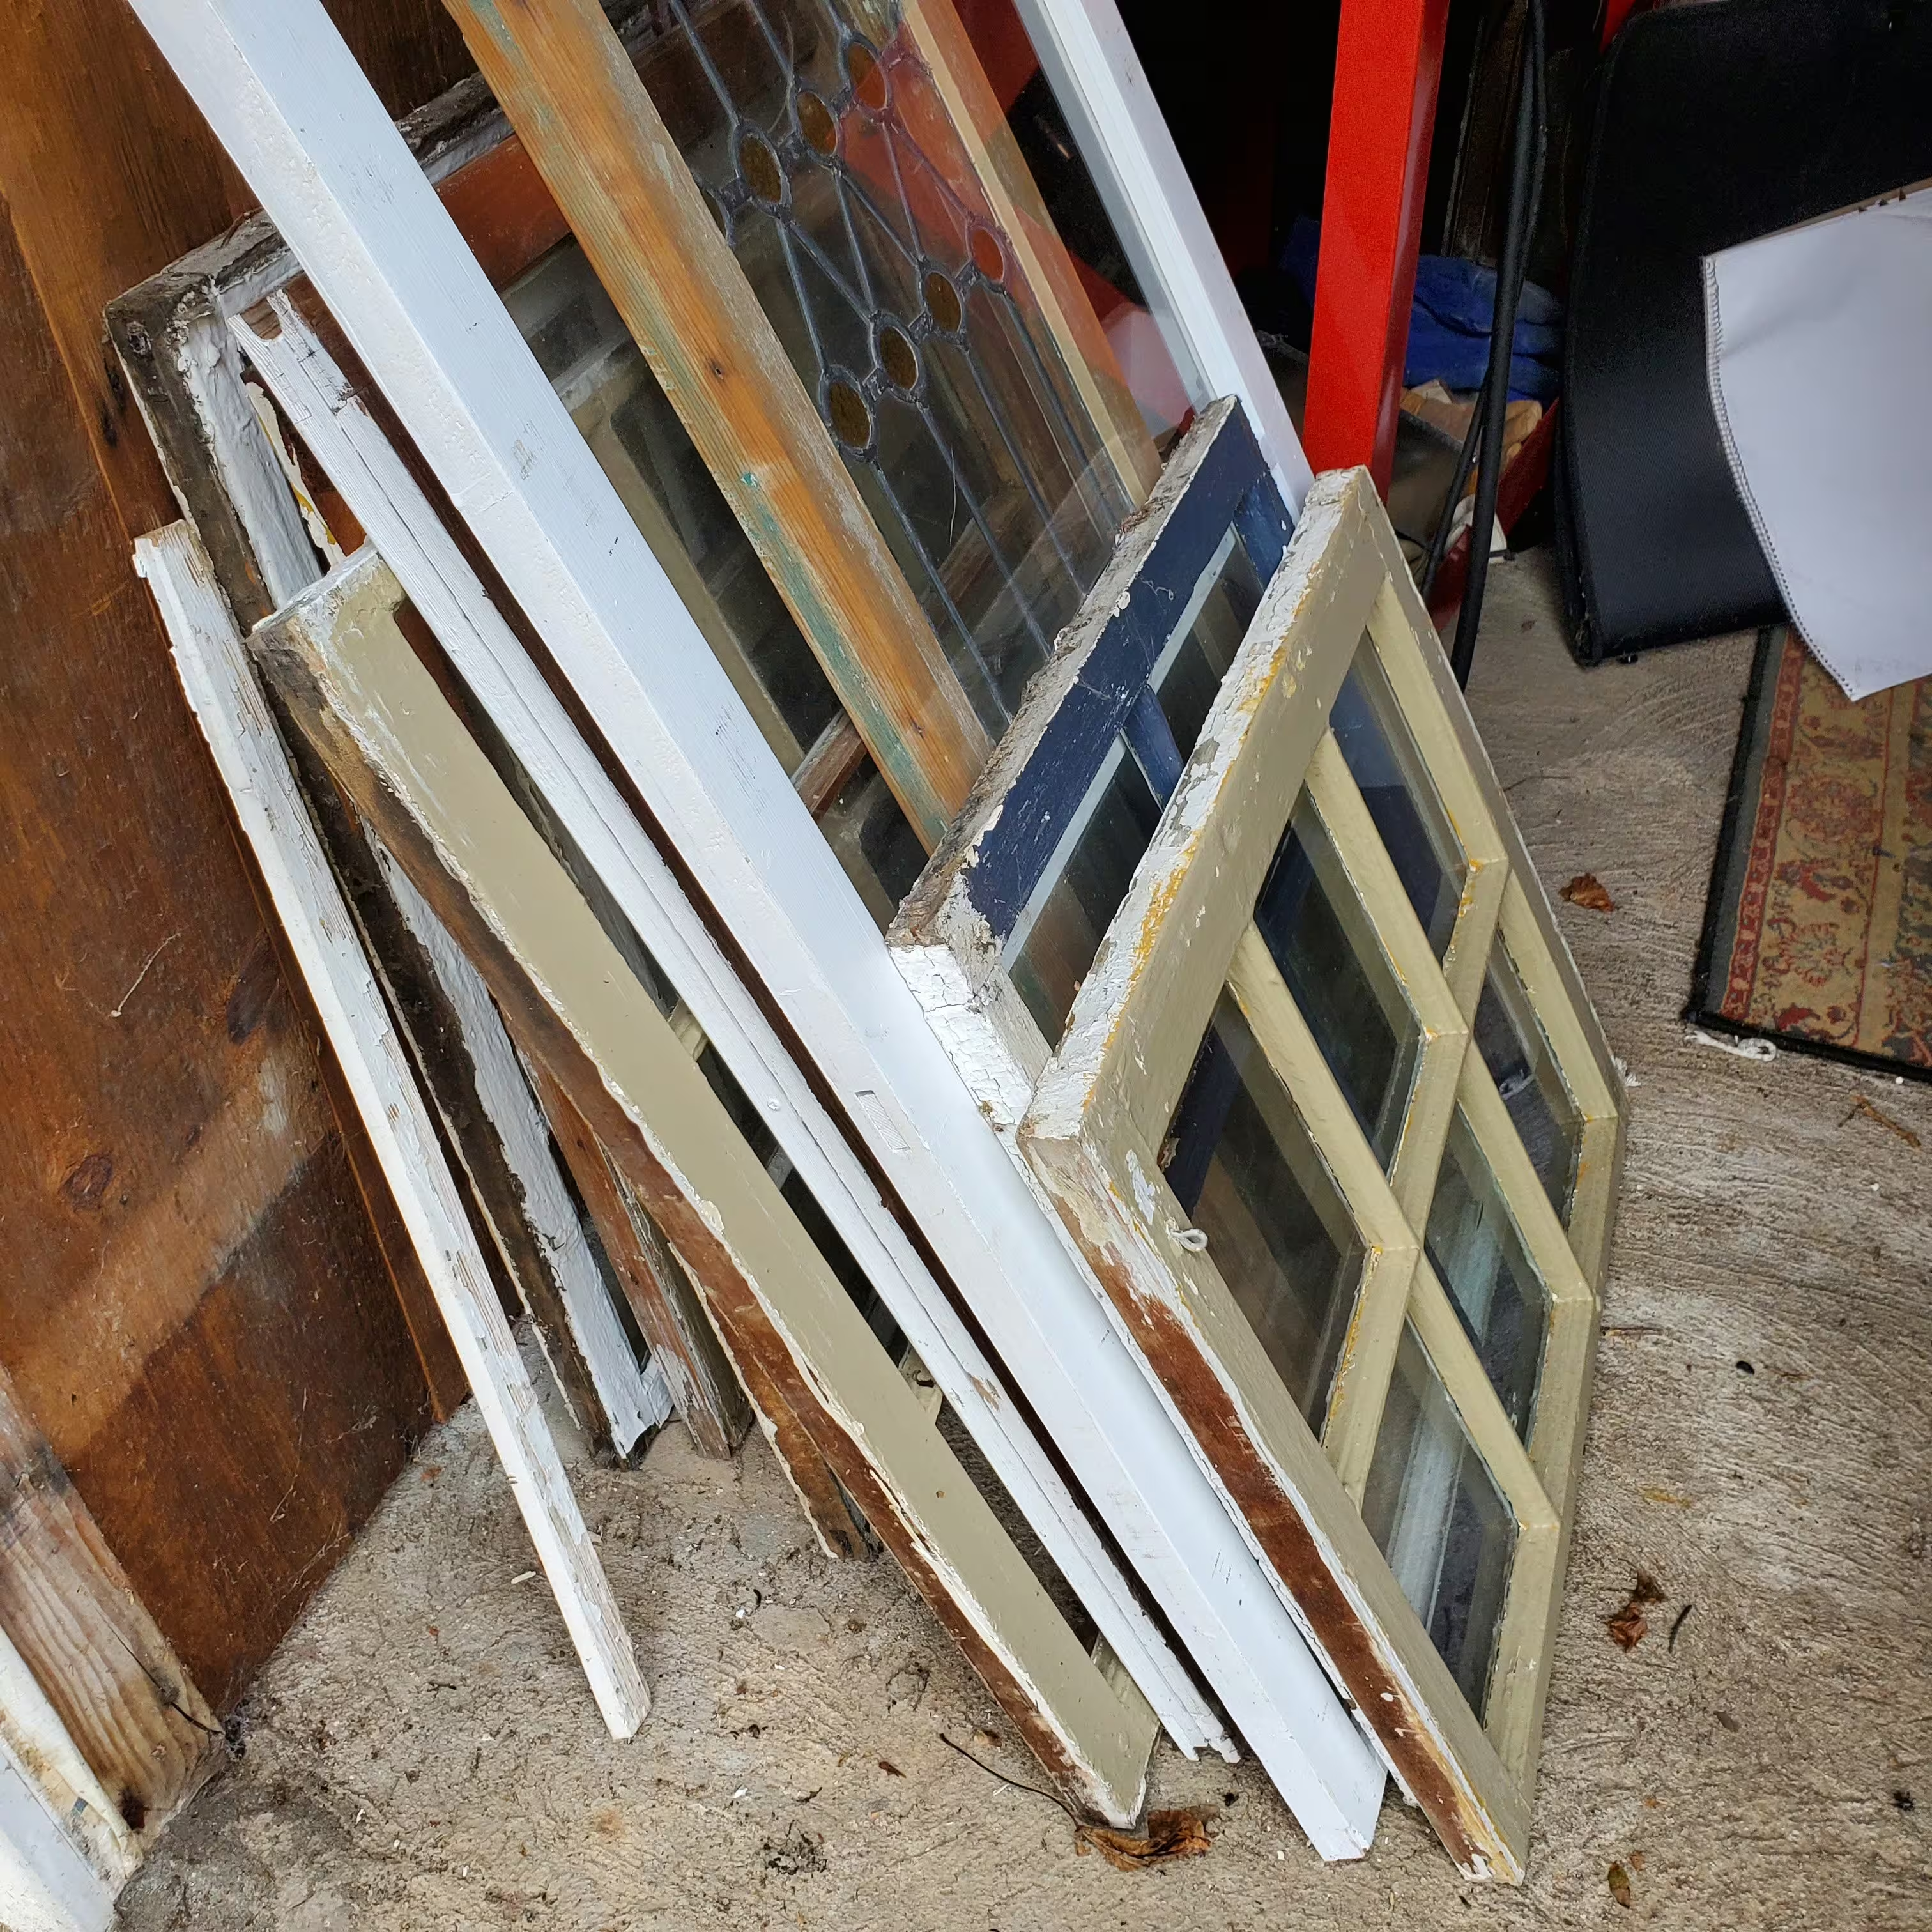
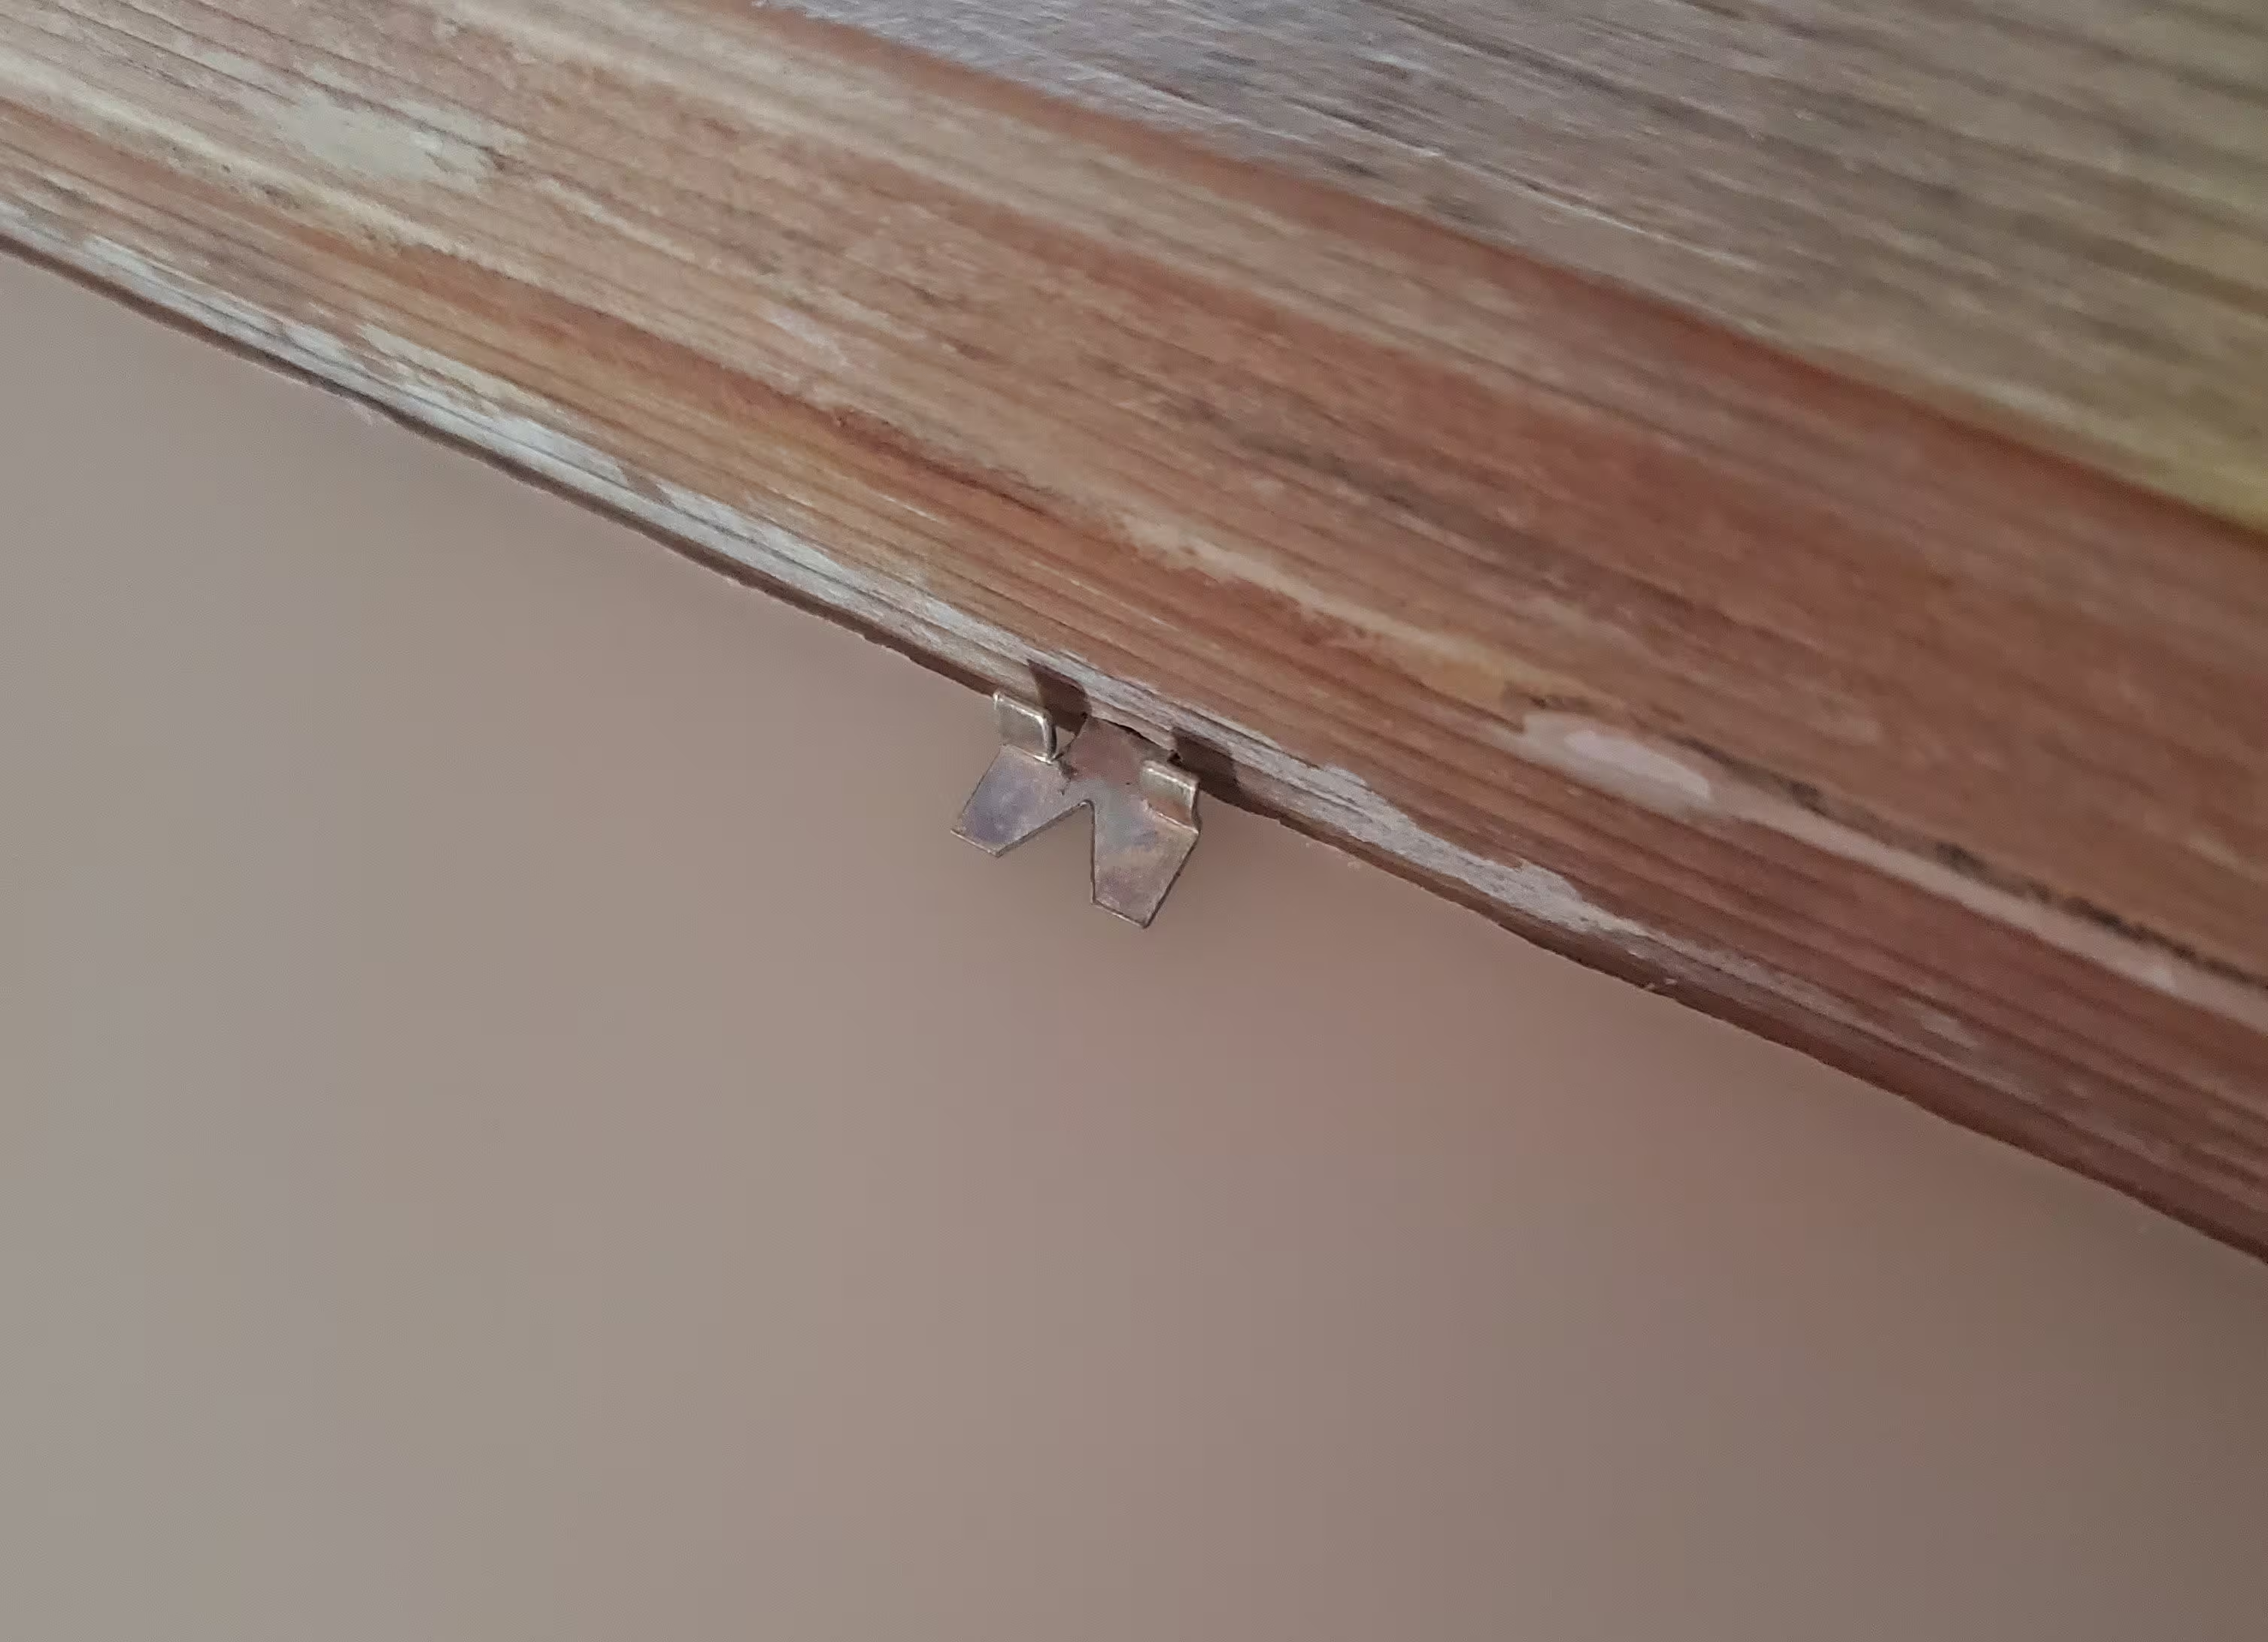
The glass itself measures roughly thirty six by eleven inches. Using tin snips for the first three layers and a dremel for the acrylic, each filter was measured, cut, and placed in the same position it had been inside the TV, only now inside the window, then held in place by push points chiseled gently into the frame.
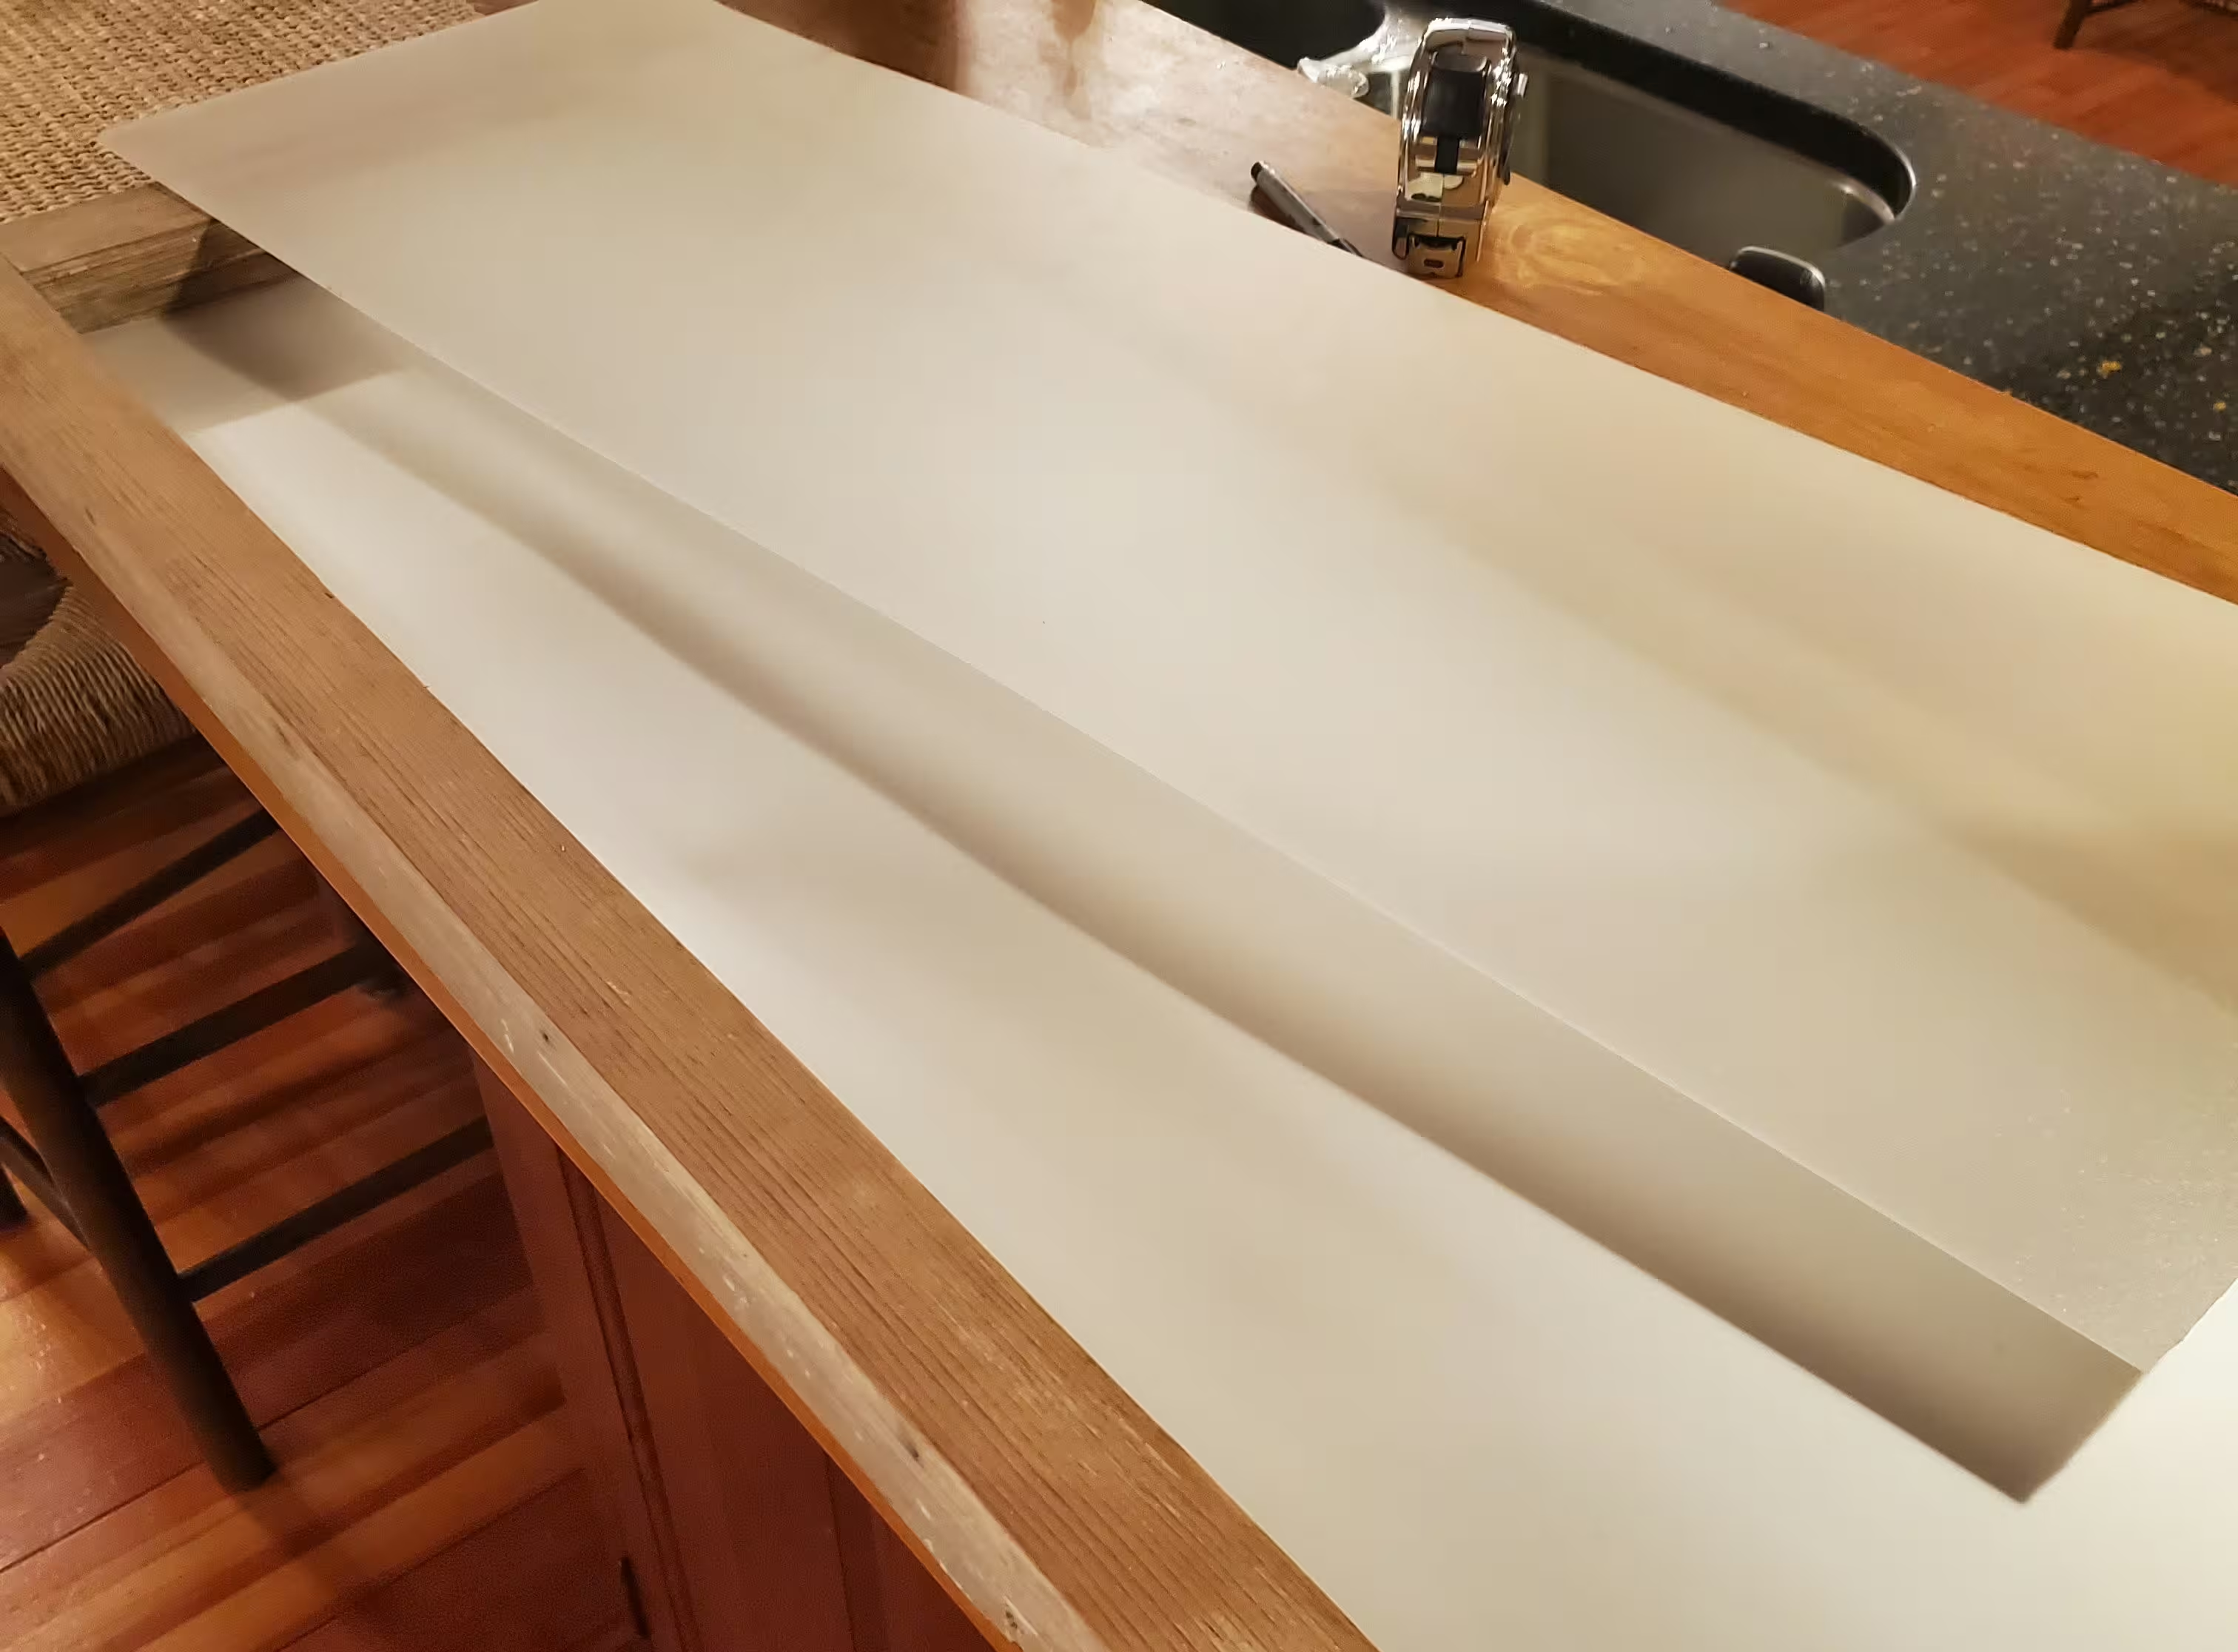
The stiffness of the acrylic holds the other more flexible layers in place behind it. At my dad’s suggestion I tacked 12’ of narrow moulding around the opposite side of the glass to better secure it from the front.

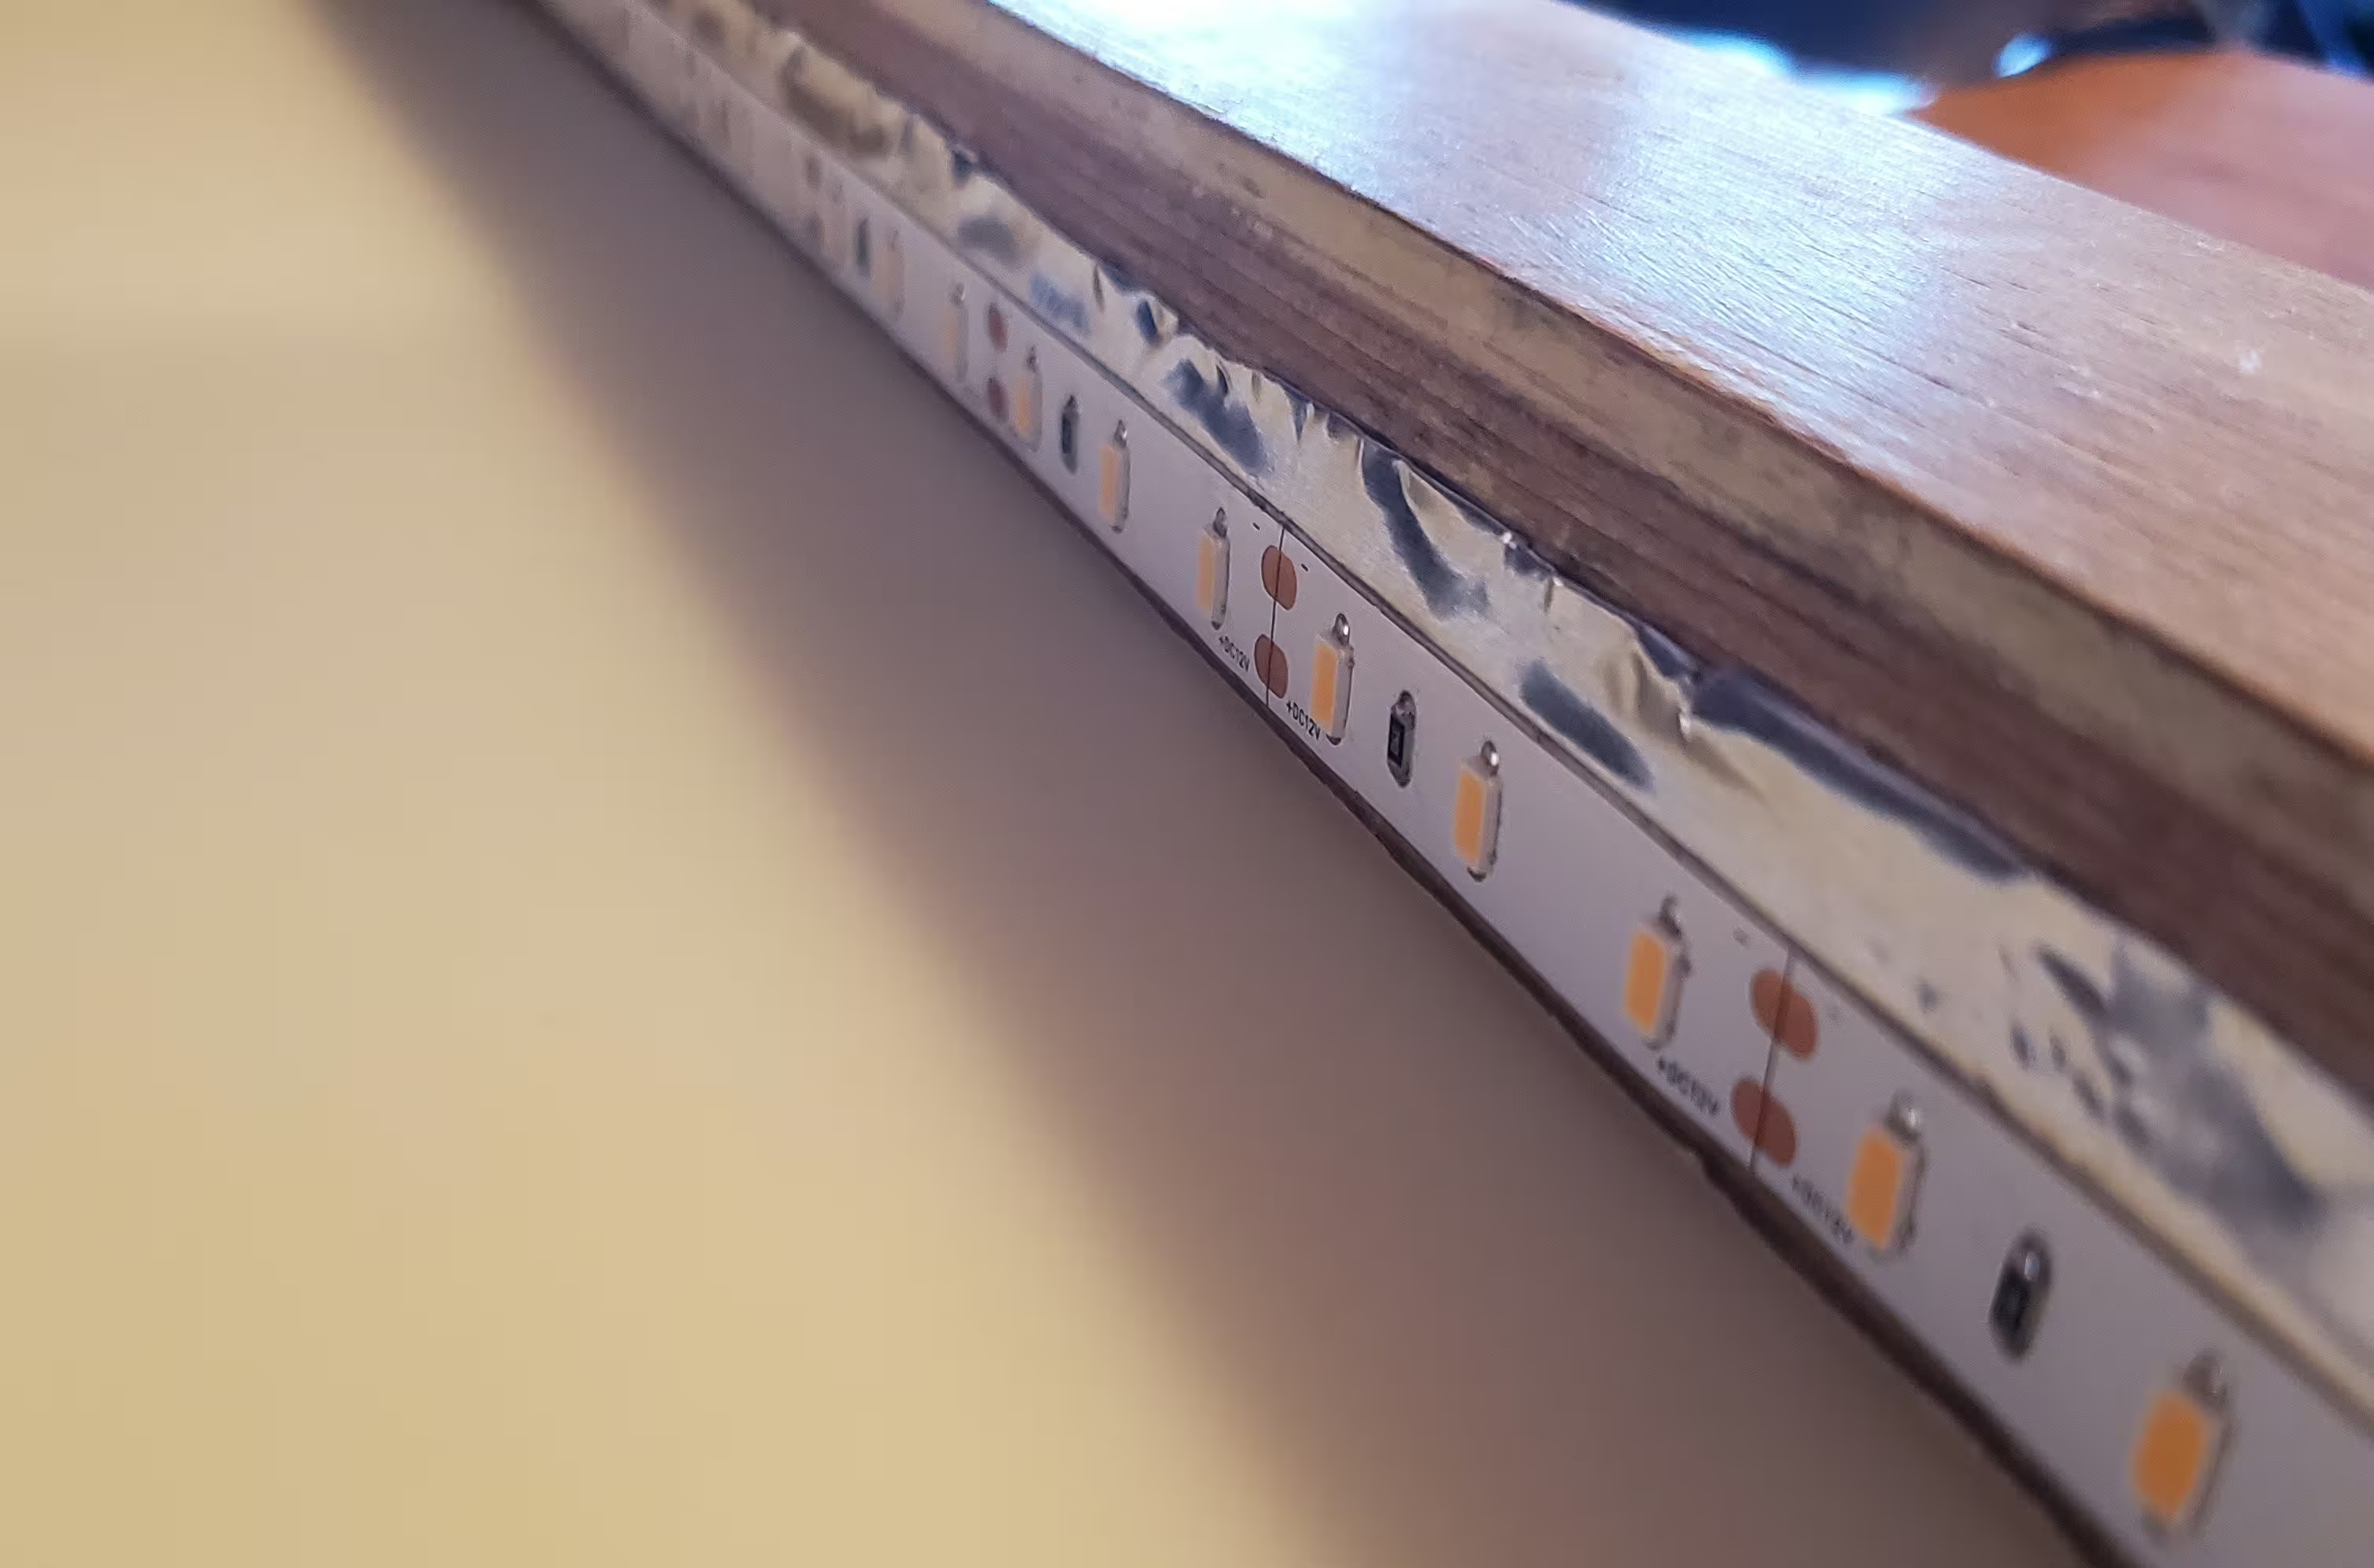
On one side of the inner frame I put down foil tape for heat dissipation, then laid almost exactly a meter of LEDs on top of it. Having tested the finished product I’m certain you’ll get away with half that many: it’s very bright.
To keep light from bleeding out behind the window, I bought a five millimeter sheet of plywood and had it cut to the window’s dimensions, 14” by 40”. I drilled a small hole and fed wire through to connect the LED strip on one side with my breadboard on the other, then attached the plywood backing to the frame.
Finally, I strung high-weight picture wire through eye screws at either end and hung the window on my wall. For now the circuit board sits on my nightstand so I can wake up, roll over and tap the off button to send the Sun below the horizon until sunrise tomorrow.
Here’s what that looks like:
It’s effective. At first I set another alarm as backup, but that turned out to be unnecessary. I also found there’s a level of ambient light where additional light stops making a difference. A window alarm only needs to get bright enough to reach that threshold.
The biggest hurdle I faced is that debugging hardware is much more painful than debugging software. The RTC chip I bought is tempermental and it took me several tries to get it working correctly. My next challenge is repackaging the circuit as a PCB and adding controls that let me set the alarm time from the window.
I can imagine a market for bespoke window alarms with higher-quality electronics. Special thanks to my dad and Brendan for their carpentry and circuitry advice.