Two Ways to Map a Park

I grew up twenty minutes away from a park that my family still visits often. Inside is thirty acres of beautiful woodland with a small beach and trails throughout, but the grounds hadn’t been maintained for decades. The trails only kept their shape because of how often people walked them.
My dad eventually convinced our Rotary chapter to adopt the park. The state gave them permission to maintain the trail system and protect its fauna from invasives. In practice this maintenance work largely falls on my dad. When I visit my parents at home, the two of us will spend a few hours there doing upkeep that ranges from moving fallen trees out of the paths to rebuilding a staircase to the water.
I started running in the park in high school because dirt is more forgiving than asphalt. My favorite section was always a half-mile loop that took you up and down its largest hill. I ran laps to train for cross country season and think that’s when I came up with my racing strategy. Most runners dread hills. They hit the bottom, slow down, and wait for it to be over. I ran faster. The quicker you summit the hill the quicker you recover, and passing runners uphill made me feel invincible.
Trail running is also a virtuous cycle. The more you focus on the nature around you, the less you notice how you feel. That gives you license to push a bit harder. Harder training makes you stronger, which in turn makes it easier to shift your focus away from your burning lungs or tired legs and towards your surroundings.
It dawned on me that the park’s trail system wasn’t mapped. Nothing showed up when I searched online. The only map I knew of was the one built in my mind over a decade. I decided to change that.
 Repairing fences
GPS traces, like the kind Strava uses to follow your run, hike, or bike ride, are a sequence of interpolated points created by polling your phone’s GPS receiver. The traces use an XML schema called GPX to store data. To simplify a bit, a GPX track <trk> is an ordered list of timestamped trackpoints <trkpt>. Each trackpoint records its latitude, longitude, and elevation.
This data is used by services like Strava to map your movement and calculate useful metrics like your average pace and total elevation gain from start to finish. I knew GPX tracks could be a basis for the foreground of my map. I’d also need a background, and for that there’s OpenStreetMap.
The best way to introduce OpenStreetMap is a detour through Wikipedia, everyone’s favorite digital encyclopedia maintained by a loose network of volunteers. Anyone passionate and knowledgeable enough can add to or edit the encyclopedia’s articles, provided they follow the rules and conventions of its community. OpenStreepMap (OSM) is the same principle applied to a map of the world.
The OSM website looks like Google Maps or Apple Maps except for its edit button in the top left corner. OpenStreetMap content is licensed under the Open Database License and services like Strava, Garmin, and even Bing pull OSM data to display their maps. I could do something similar to make my background. Better yet, I could upload the park’s trails so they’d show up in all those places. In the end I added my trail data to OpenStreetMap and designed a separate map of the park to print as a poster. Here are the steps to do both.
- Install an app that can record and export GPX traces. I downloaded the iOS app GPX Tracker and paid the small subscription fee.
- With the app open, walk or run the same trails repeatedly until you’ve covered the entire network more than once. GPS is only so accurate – the more times you cover a path the better you’ll be able to infer its true placement. (There’s no special technique to this, just have fun.)
- Export the traces from your phone to a PC.
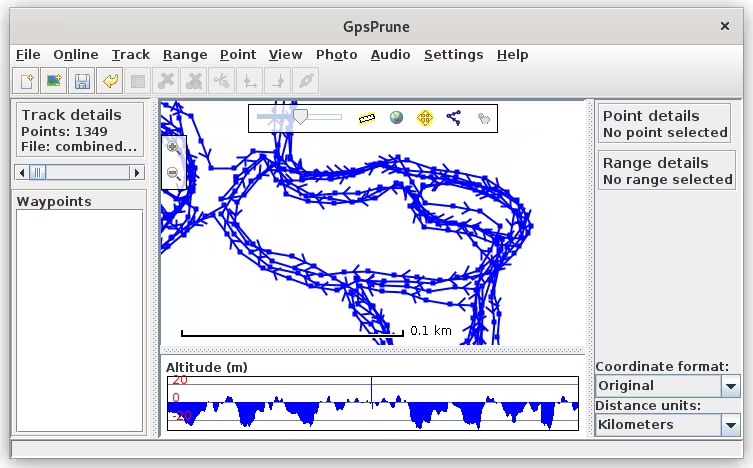
- Open the set of trace files in an application like GpsPrune or GPX Studio. GpsPrune is in Debian’s package repository (
apt install gpsprune) and is what I used.
- Select “Edit mode” and massage the traces by dragging individual points towards the real location of the path. You can determine the shape of each section of trail from the traces’ center of mass, and by remembering the contours of the trail from your past runs.
This is why taking multiple traces of every trail is important. Each trackpoint is only approximate, and you’ll notice some outliers are way off track. Keep refining the data until the overlapping collection of points paints a clear picture of the trail network.

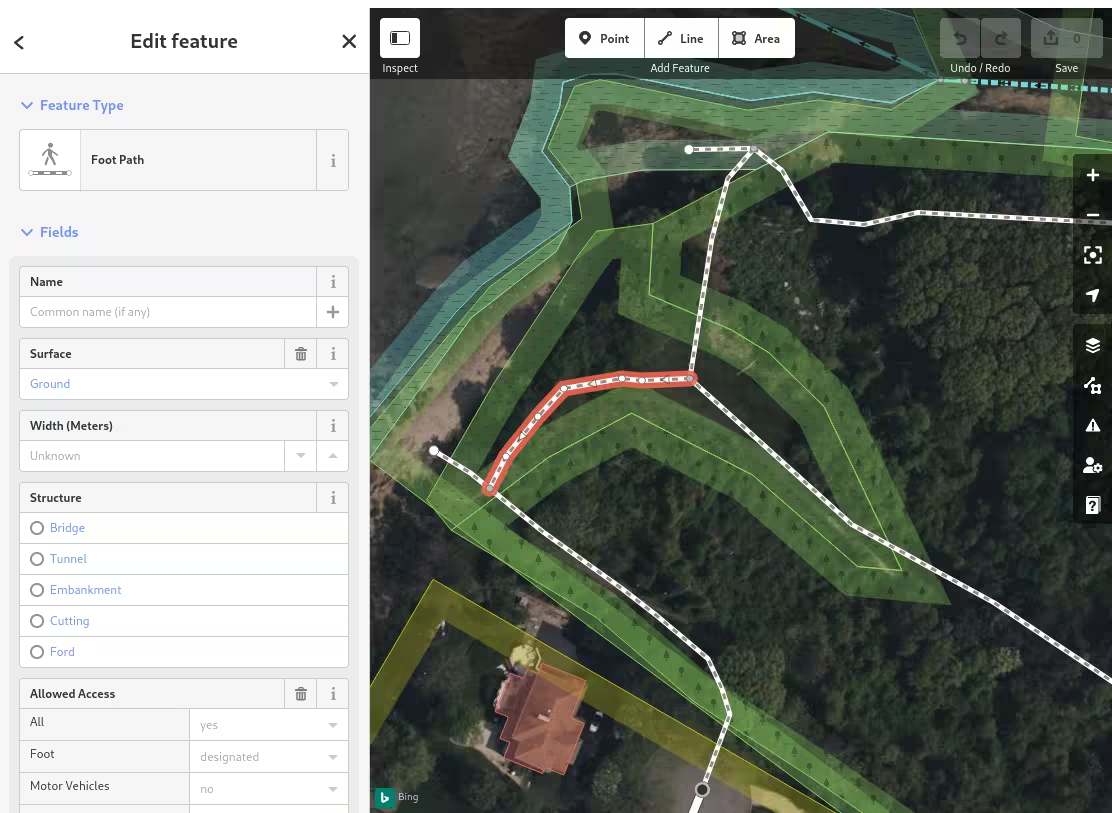
You can also set the background to a satellite image and compare your traces with geographical features that appear on camera. A wide-enough trail or one ending at a road, building, or parking lot will be visible from above.
This is the first time you get to flex your inner cartographer. Questions like “is the shape of this intersection relevant?” and “is this minor trail worth keeping?” are freely yours to answer.
I enjoyed this a lot but also wondered how hard it would be to infer maps from GPS traces programatically. It’s a fun rabbit hole to follow. This answer suggests treating GPX tracks like graphs and deleting vertices closer to each other than a certain distance. This smoothing algorithm implements a similar idea. The exact question was asked on GIS Stack Exchange, and this paper linked by the top answer proves you can do it for mulitple overlapping traces.
At this point the paths diverge. Qualities that make good printed maps are not the same qualities that make digital maps so useful. A printed map should be as accurate as possible at its specific resolution level. Digital maps should be accurate at many levels of resolution, and stitch together massive amounts of data, so efficiency takes precedence over detail. A feature like a 10’x10’ triangle in a three-way junction may be worth depicting on a printed map, but not on a digital one. Small twists and turns are also irrelevant unless they’re severe enough that mountain bikers will want to know they’re there.
To finish the digital map, save your combined and corrected GPX trace and open it in OSM. Use the editor to create trails by drawing lines that balance accuracy and rigidity. As the mapmaker you know all the subtle features and half trails in the network. You get to decide which should be recorded and which would clutter the map. Use Feature Type to define the kind of path you’re drawing and add any relevant fields.

Since starting this project I’ve created or corrected the trail maps of four nearby parks. It’s a small way to give back and one of the rare ways to exercise your body and brain together.
To finish the printed map, export your final GPX trace as .png and open it with an image editor like Photoshop or GIMP, which is what I used. Remove the tiny bits of whitespace between overlapping tracks by lowering the image’s resolution, then make the larger negative spaces between trails transparent. This will let you view the GPX trace over a background image.
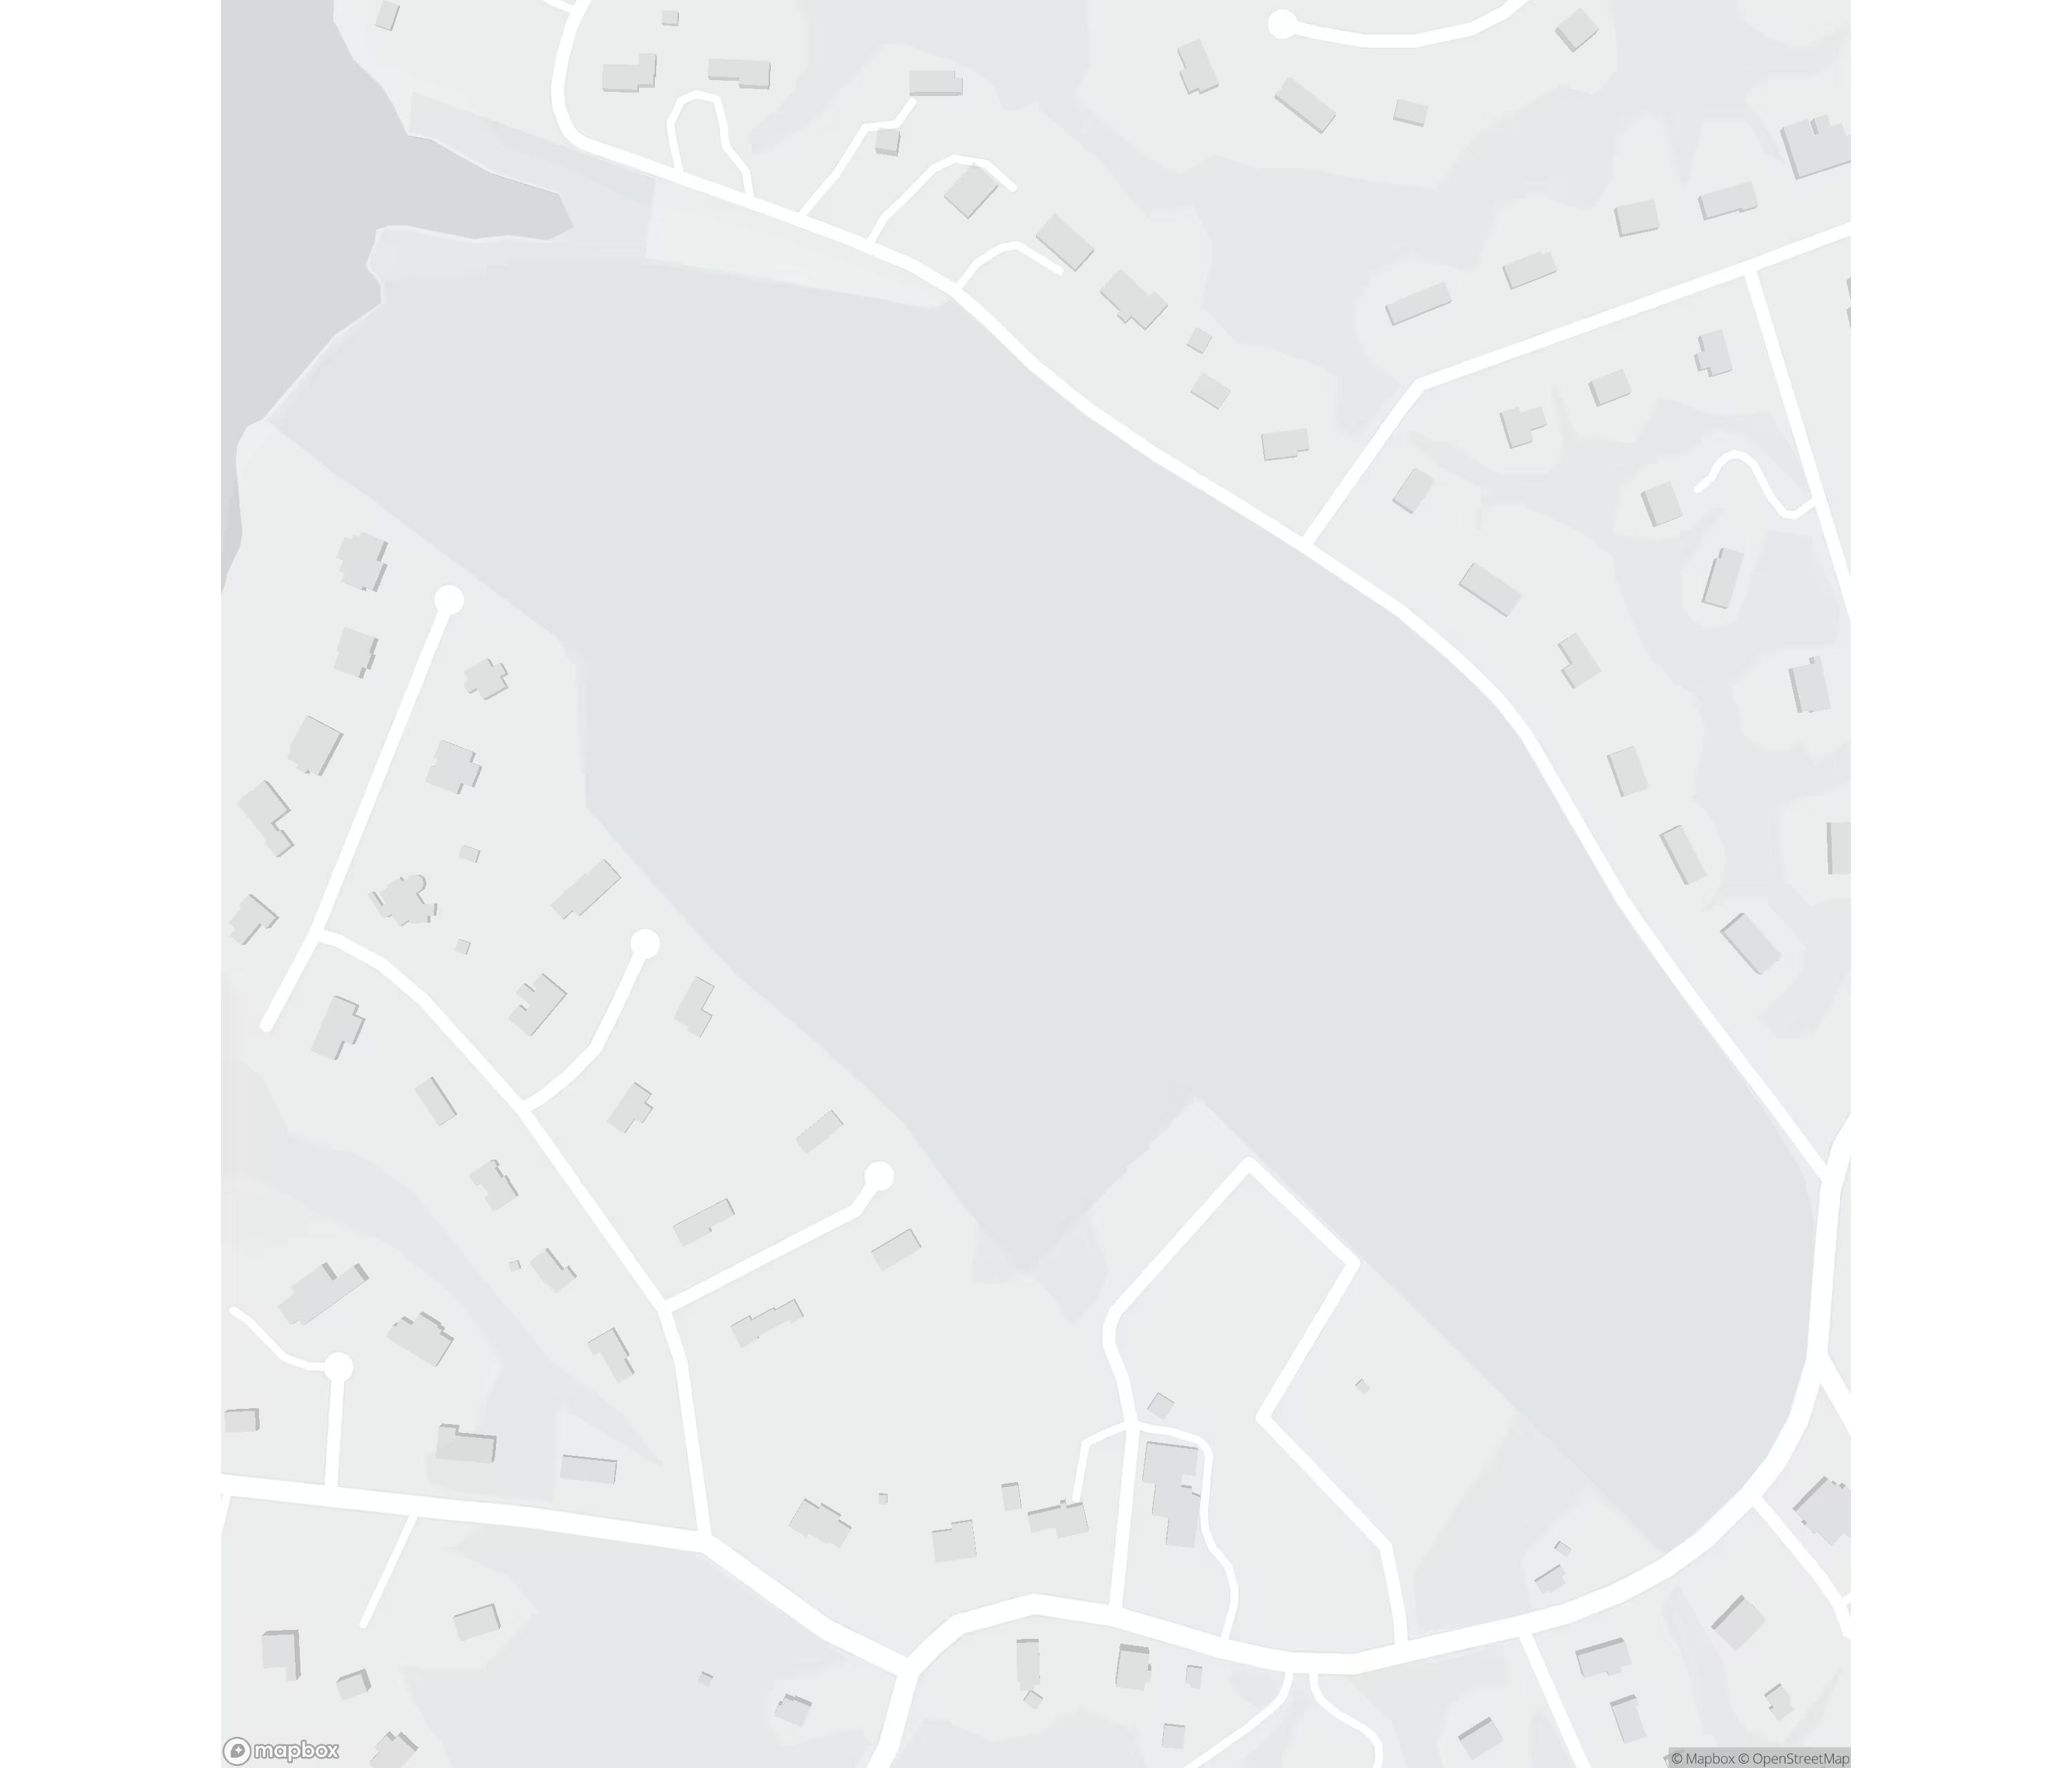
That background image will be a base map placed under the trails. I designed one with Mapbox, another service built in part with OSM-derived data. Signing up gets you access to its Static Images API. Creating a custom background image is as simple as pasting the request in your browser’s address bar: https://api.mapbox.com/styles/v1/{username}/{style_id}/static/{overlay}/{lon},{lat},{zoom},{bearing},{pitch}/{width}x{height}@2x?access_token={token}. The maximum height value is 1280 pixels, so you have may have to stitch together multiple background images. I added three to GIMP and lined them up.

I liked using Mapbox. Their Style Editor makes it easy to tweak colors and features. I lightly edited the built-in monochrome style to make the image above. An alternative to Mapbox is prettymaps, which I haven’t tried yet but looks promising.
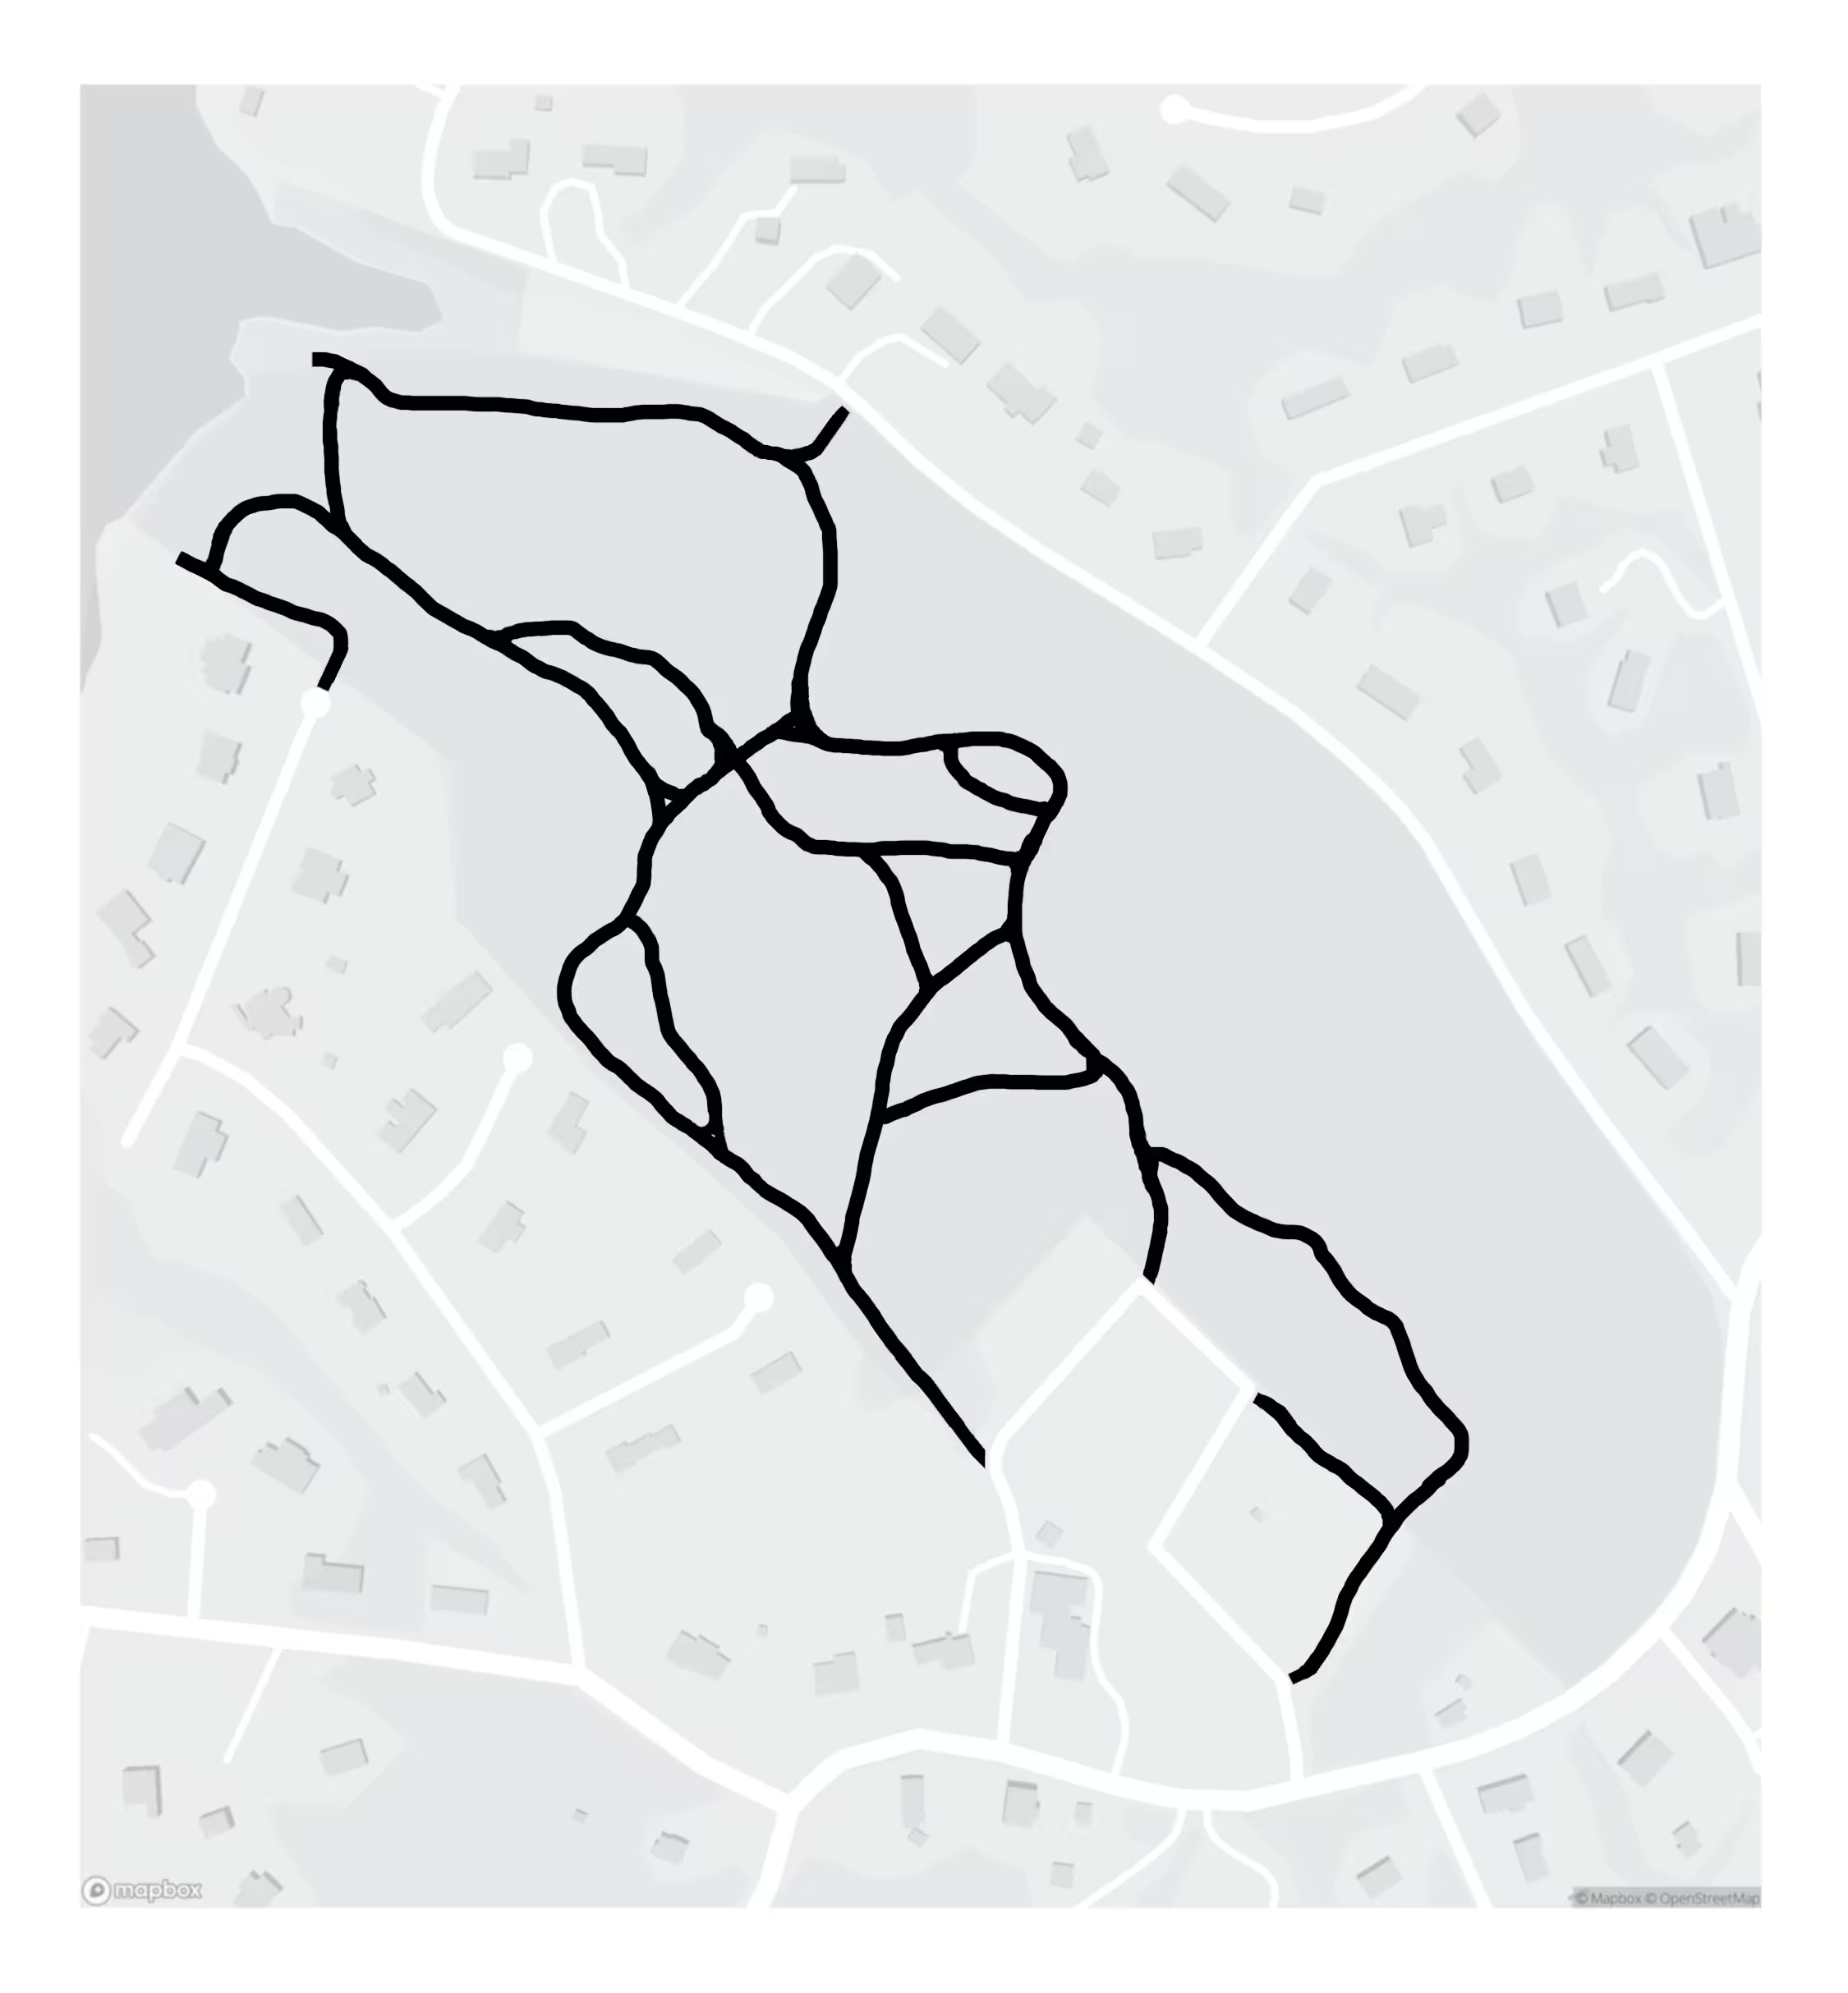
Stack the GPX layer over the base map layer and use the Scale (S) and Move (m) tools to position them properly. Create a new layer above the GPX output and trace the trails’ true location with the Pencil Tool. I have a touchscreen laptop so I sat it lid-side down and drew directly on the screen with a stylus.
 Turning tracks into trails
Tap the eye symbol on the left of the GPX layer to hide it. You’ll now see what your completed trail map looks like. Add another blank background layer behind the rest and the poster is nearly finished.

You can title your map with GIMP’s Text Tool and use it to add any additional text that makes sense. Finally, export the finished product to a size compatible with a wide-format printing service. I ordered a 12”x18” poster from Staples, framed it, and gave it to my dad for Christmas.